
The error message stating, “you are not currently using a display attached to an NVIDIA GPU” is likely to occur at any point. It can appear if the system cannot detect the GPU you are using on your computer. The problem could also be that the monitor is plugged into the wrong port. Different issues are possible, causing your NVIDIA GPU to be inactive or have no internet connection. Our guide examines how to rectify this error.
Fixes For You Are Not Currently Using A Display Attached To An NVIDIA GPU
This section describes the possible solutions for this message. Below are some easy fixes:
Update Your NVIDIA Drivers
Due to uninstalled driver upgrades, your computer might have become unable to determine whether or not an NVIDIA GPU was attached to your display. After you have installed the updates, it should function normally once more. To update your NVIDIA drivers, follow the procedure below:
- Press the Windows key to open Windows.
- In the search box, type GeForce, then go through the results list to find the NVIDIA GeForce app.
- Click the application to launch the programme.
- To access the Drivers menu, select it from the menu on the upper left of the app.
- Only click “Check for Updates” if there is currently no indication that a driver update is already available.
- To download any driver updates it detects, click the Download button. The update window will show you the number of the current version and the date of release.
- Wait as the program downloads the most recent drivers. Depending on your connection’s strength and the update’s size, the process could take some time.
- When the button appears, click the Express Installation option.
- Click the Yes button.
- When the process is over, click the Close button.
- Click the Check for Updates button to double-check that no new updates are available and that GeForce has successfully installed your updates.
When you launch GeForce, if NVIDIA seems to install an update, this is not the driver update; instead, it is an update to the GeForce software. Hold off on continuing the steps until it has completed its current process.
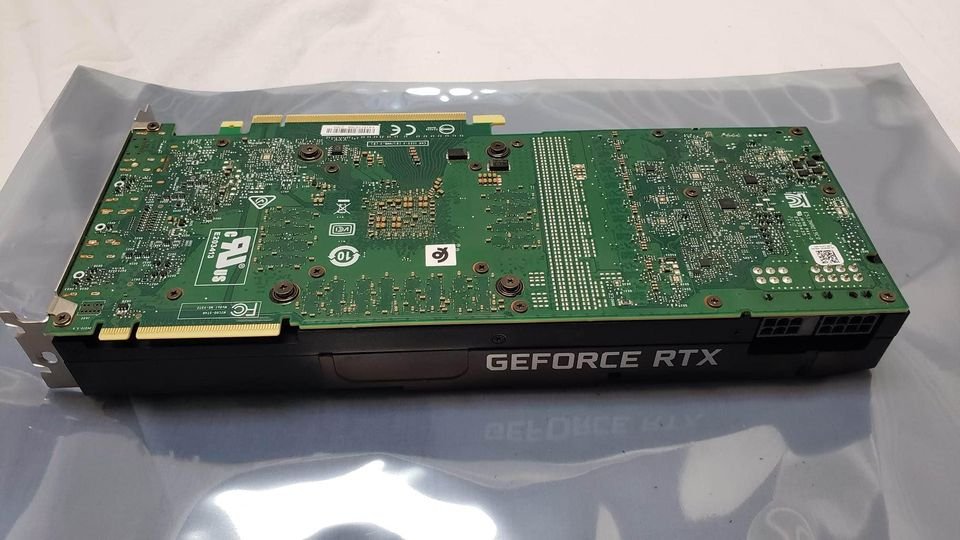
Reseat Components
Try reseating the components if you have just assembled the computer or changed its hardware. Problems can arise in your system if the connections are loose or the joining is incorrect. To perform this action:
- Turn off the computer and the power supply unit (PSU) switch. Unplug it from the wall outlet.
- Detach your graphics processing unit (GPU) from the motherboard.
- Take out the RAM from the motherboard. Make sure that the clips are released first before removing the sticks.
- You may clean the dust off your motherboard, RAM, and GPU.
- Put the RAM sticks back into their slots. With caution, apply enough force to seat them properly. Depending on the model of your motherboard, you may need to replace the clips to secure them in place.
- Reconnect the graphics processing unit (GPU) to the motherboard. Ensure the connection is secure and firmly in place.
- Fix all the components back in their place and close the computer.
- Connect the power cable to the outlet.
- Turn on the power supply unit.
- Restart your computer.
- Once everything is running, perform a second check for driver updates. If there are none, you can try accessing the NVIDIA Control Panel from the desktop to update the settings and check to see if the error has been resolved.
Reinstall your NVIDIA driver
The error message can occur if the driver installed on your NVIDIA graphics card is corrupted or incompatible with your Windows OS. To determine whether or not this will solve the issue, try to uninstall the driver first and then reinstall it. To accomplish this:
- Press the Windows logo key simultaneously with the letter R on your keyboard. Type devmgmt.msc into the box and hit the Enter key on your keyboard.
- Find the Display adapters and then double-click on them. After that, select your NVIDIA product from the list below, right-click on it, then select the “Uninstall device” option.
- To confirm the uninstall, click the Yes button.
- Restart your computer.
- Press the Windows logo key simultaneously with the letter R on your keyboard. Next, in the box that appears, type devmgmt.msc and then press the Enter key.
- To allow Windows to reinstall the driver for your personal computer, navigate to the Action menu and select Scan for hardware changes.
- Check to see if you can open the NVIDIA Control Panel without any problems this time.
Use a Different Cable or Connection
You might try switching the method of connection you are using to see if another is more effective. You can change the connection type from DisplayPort to HDMI or any other form of connection. After that, if the fault persists, you should attempt to fix it by connecting a different monitor to the GPU. If you can still not get it to function, the problem may lie with the graphics processing unit (GPU) or the motherboard. If it does not immediately result in the system’s destruction, a problem with the graphics processing unit (GPU) or the motherboard can wreak havoc on your computer.
Turn on NVIDIA Driver Help Service
The fact that the NVIDIA Driver Help Service is off can be a primary cause of the error message. You can turn on this service to get rid of this error notice. Carefully adhere to the following steps to perform this action:
- Hold the Windows key and enter in Services.
- Click on the Services link located in the Results.
- Select services. A window will display on your screen to view all the services that operate on your personal computer.
- Find the Desktop Application and identify The NVIDIA Driver Help Service.
- Choose this option and then click the Start button in the left-hand pane.
- After the service starts, right-click on it, and select Properties from the menu that appears.
- Locate the section that deals with the startup type, and set it to automatic.
- To save your changes, click the Apply button and then the OK button.
- Restart the system and examine to see if the error still exists.
Update Other Drivers
Suppose you still receive the message after updating the drivers for your NVIDIA hardware; attempt to update the drivers for any other hardware on your computer. Outdated drivers can result in bizarre problems. These problems can occur even with programmes and operating systems that don’t appear to interact with the drivers. There are different approaches to updating your drivers. However, you can complete the majority of the process may in Device Manager. To perform the update on the drivers:
- Hit the Windows key + X
- Select Device Manager.
- Pull down the menu labelled Display Adapters.
- Select Update Drivers from the menu after right-clicking on each adapter that appears.
- Select the option to search for drivers automatically.
- Follow the on-screen instructions for installation if it is necessary.
Whenever you encounter any problem with NVIDIA, you should find a solution as soon as possible. You can overcome the issue and gain access to the NVIDIA GPU without complications if you follow the steps above