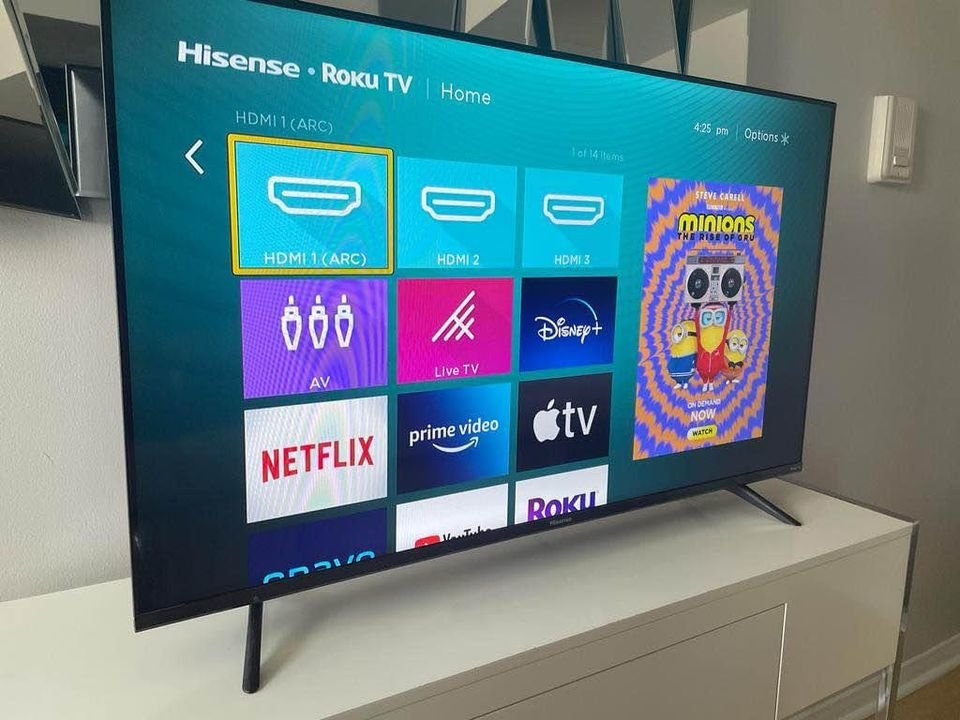
Roku is a user-friendly streaming media player. It simplifies accessing media content on a TV. It is one thing to have various channels on Roku and another to access your favorites easily.
If you rearrange the channels on your Roku device as you deem fit, it will be much simpler for you to access them anytime. It is not a tedious process to organize channels on Roku.
You should follow the simple steps in this guide to have your Channels in order in a couple of minutes.
Steps to Arrange Channels on Roku

If you want to arrange the channels on Roku to specific spots or even alphabetically on your Home screen, replicate the methods below:
- Switch on your TV and Roku.
- Navigate your way to the home screen of Roku. If you are using the application, you can go to the Home screen by pressing the Home button on your remote control.
- To access the channels available on Roku, press the OK button on the remote or the right button on the directional pad. The Roku remote has a plus sign-shaped button in the middle that serves as the directional pad.
- Use the directional pad to find the channel you wish to move to and click on it. The channel will highlight when you make your selection.
- Click the Star/Asterisks button on your Roku remote to access a sub-window with a selection of settings.
- Click on Move Channel. You can freely place your channel on the Home screen after clicking the “Move Channel” button. You will need to utilize the direction arrow buttons to traverse the channel and position it where you want it.
- Click the ‘OK’ button. You will not be able to place the channel unless you press this button. Once you press ‘OK,’ you are done with the process.
Repeat these steps for each channel app you intend to relocate to a different location on the screen.
How to Remove Channels From Your Roku
Either using the Roku app on your mobile device or directly on your TV, removing channels from your Roku lineup is a simple process. If you wish to remove a channel that requires a paid membership to access it, you will need to contact the service provider to cancel your subscription. Follow the steps below to remove a channel from a Roku device or app.
Roku Device
Follow these steps to remove a channel from your Roku device:
- Navigate to the Roku Home screen by pressing the Home button on the remote control.
- Go to the channel you want to delete, and press the star button on your remote control. It will load the channel’s information.
- Choose the Remove Channel option, and press Remove once more to validate your selection.
Roku App
To remove a channel from the Roku app:
- Choose Devices > Channels from the Roku app’s navigation menu.
- Select and hold the channel you want to remove.
- Select Remove Channel from the menu.
- Click the Remove button again to confirm.
How to Add Channels Through Your Roku Device
To add channels through your Roku device, follow these easy steps below:
Press the Home button
To ensure you are viewing the home screen, click on the home button on your Roku remote.
Navigate to the Streaming Channels menu
After making your selection in the menu by navigating with the arrow buttons, pick “streaming channels” and then hit “OK” on your remote. That will launch the Roku Channel Store on your web browser.
Locate the Channel You Intend to Add
There are different ways to locate channels that you would like to add to your channels. You will see a selection of genres and options for features, just added, and recommended channels. You can select one of those and then scroll through the available channels until you come across any that piques your interest.
Use the Search Function
To use the search function, go to the “search channels” option, and then use the on-screen keyboard to enter the name of the channel you wish to add.
Add Channel to your Roku Channel Menu
After you locate a channel you wish to add, you can access further information using the “OK” button. Choose “add channel,” then hit “OK” on your television’s remote control. The next step is to confirm that you wish to add it by clicking the “OK” button.
Confirmation Notification
You will first see a progress bar and then receive confirmation from Roku that the channel has been added.
After these steps, your channel list will automatically update to include the new channel at the bottom of the channel list. To locate the new channel, press the home button and use the down arrow keys on your Roku remote to scroll to the bottom of the screen.

